The real estate market is rarely kind to the amateur flipper, but hardwood floors are the quiet, often ignored "beta" of house value. When a potential buyer walks into a property, they aren't looking at the HVAC system or the attic insulation; they are looking at the floor. Scratched, dulled, and neglected hardwood creates a visceral reaction of "fixer-upper" fatigue. Flipping these floors—not by replacing them, but by strategically restoring them—is one of the few low-cost, high-leverage ways to force equity into a home. This strategy isn’t about luxury; it’s about perception, margin management, and understanding exactly how much sanding is too much.
The Economics of the "Floor-First" Strategy
In the current market, the cost of installing new solid hardwood is exorbitant—not just due to materials, but due to the scarcity of skilled labor, much like the supply chain issues analyzed in Why AI-Driven Supply Chain as a Service is the Future of Logistics Scaling. A floor professional will charge a premium to tear out old wood, dispose of it, and install a subfloor. If you are flipping, this eats your budget for high-visibility repairs like kitchen cabinets or bathroom fixtures.
By choosing to restore existing floors, you are essentially performing a high-yield arbitrage. You are buying the property based on its "tired" condition, paying for minor refinishing materials, and selling based on the "warmth and character" of natural hardwood. The delta between the cost of a sand-and-refinish kit and the increase in appraised value is often a 5x or 10x return.
Identifying the Asset: What Can Actually Be Saved?
Before you commit a dime, you have to be able to distinguish between a fixable floor and a pile of firewood. The industry is rife with "restoration" projects that should have been total replacements, mirroring the pitfalls discussed in The Rise and Fall of Automated Content Empires: A Look Inside the 2026 Media Landscape.
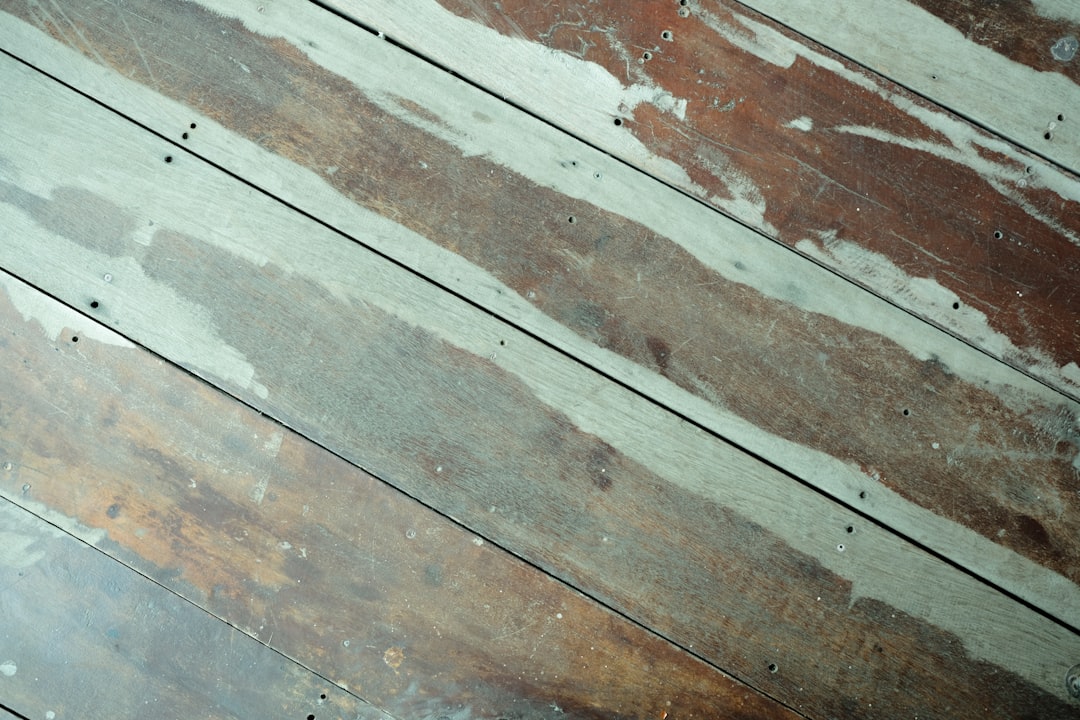
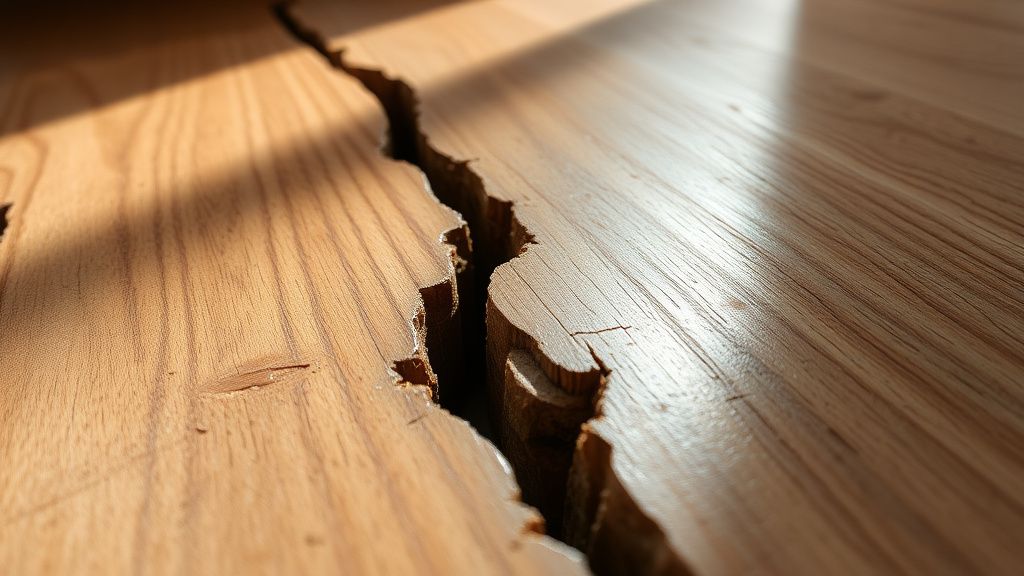
- The Depth Test: Take a key or a small scraper. If the scratch is deep enough to catch your fingernail, it’s a surface-level issue. If the scratch is deep enough to expose the subfloor or has splintered the grain severely, you aren't just refinishing; you’re performing surgery.
- The Water/Moisture Check: Look for "cupping" or "crowning." This happens when moisture levels are inconsistent beneath the floorboards. If you see the boards curved upward at the edges, a simple sanding will not fix the underlying foundation. You are looking at a structural failure, not a cosmetic one.
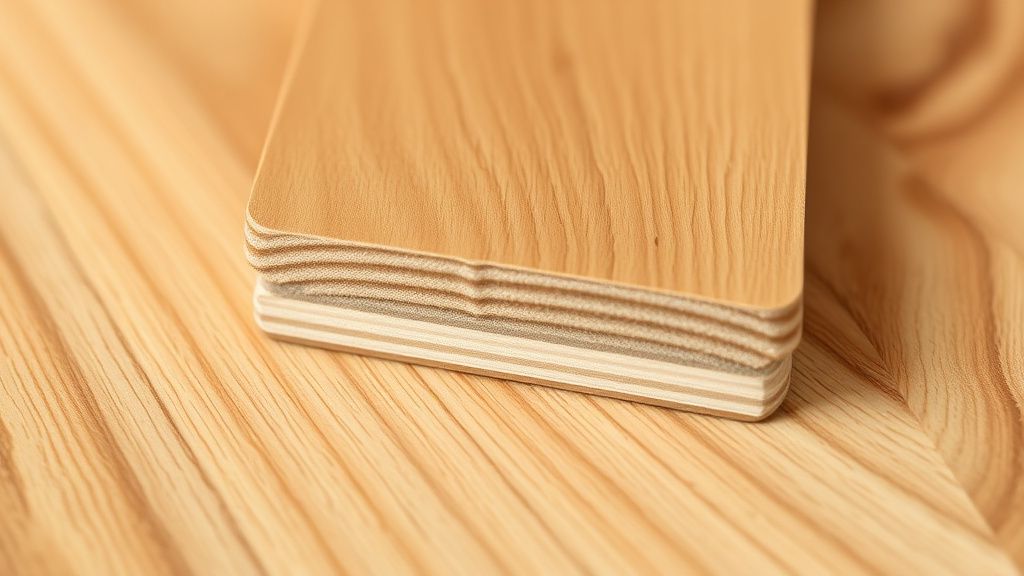
- The Plank Thickness: Determine how many times the floor has been sanded in the past. Most solid hardwood can be sanded 4 to 6 times. If you are looking at a home built in the 1920s that has been "renovated" four times, you may only have 1/16th of an inch of wear layer left. If you hit the tongue and groove, the floor is structurally compromised.
Real Field Report: The "Rental-Grade" Mistake
I once observed a project in Ohio where the developer, ignoring the "thickness rule," hired a cheap sub to sand a 1940s oak floor. The sub, lacking the nuance of an experienced floor master, took too much off. They hit the tongues of the boards in the high-traffic hallway. By the time they finished, the floor was "bouncy." It wasn't flat, it wasn't stable, and it eventually began to squeak and splinter within six months of the new owners moving in. The flipper ended up having to pay for a full luxury vinyl plank (LVP) install to cover the mistake, effectively negating the entire profit margin on the living room.
The Tools of the Trade: Don't Buy What You Can Rent
The biggest pitfall for the DIY flipper is the "enthusiast's trap"—buying equipment that is underpowered or improper for the scale of the job, which is a common mistake when scaling any business, as noted in How to Build a Sustainable $15k/Month AI Automation Agency by 2026.
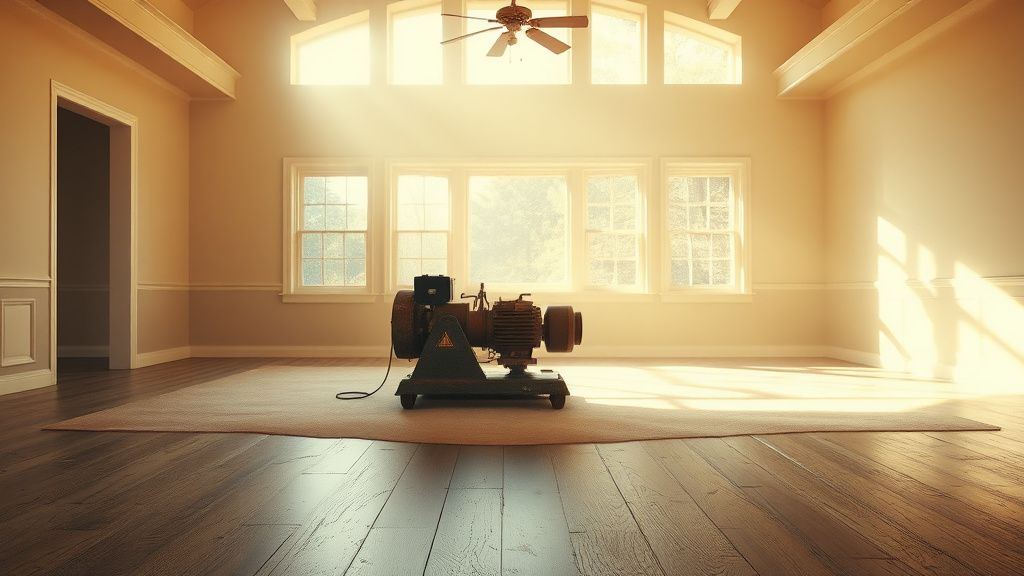
- The Drum Sander: The industry standard. It is heavy, aggressive, and requires a steady hand. If you hold it in one spot for even a second, you’ve created a permanent depression.
- The Edger: A smaller, circular disc sander. This is where most people fail. They focus on the center of the room and then rush the edges. The result is a "halo effect" where the center of the room is perfectly sanded but the perimeter is unevenly colored or poorly finished.
- Vacuum Systems: Dust is the enemy of the finish. If you don't have a high-CFM HEPA vacuum attached to your equipment, you are blowing wood dust into every corner of the house, which will settle into your polyurethane finish like sandpaper grit.
The Controversy of "Dustless" Systems
There is an ongoing debate in the trade forums—from Reddit’s r/Flooring to specialized industry mailing lists—regarding "dustless" sanding. Marketing materials will tell you it’s a standard, but in practice, "dustless" is a relative term.
The criticism from professional refinishers is that many DIYers rely on these systems to avoid plasticizing the entire home. When they ignore the necessity of sealing off HVAC vents and doorways, the fine dust—the stuff you can't see—migrates into the ductwork. When the new owner turns on the heat for the first time, a cloud of sawdust is blown into their bedrooms. This isn't just an annoyance; it’s a liability. My recommendation: ignore the "dustless" marketing and tape off the house like you're handling hazardous waste. It’s cheaper than a professional cleaning bill or an angry buyer.
Financial Engineering: The "Refinish vs. Replace" Paradox
When calculating your margins, you must look at the opportunity cost of time.
- Scenario A: You sand and refinish. Material cost (sandpaper, stain, poly) is ~$400–$600. Labor is 3–5 days of your own sweat equity. Added value: ~$10,000–$15,000 in appraisal.
- Scenario B: You pull the wood and replace it with LVP (Luxury Vinyl Plank). Material cost is ~$2,000–$3,500. Labor is 2 days. Added value: ~$5,000–$8,000.
The math favors the refinish, but the risk favors the LVP. If you screw up the finish (the "fish-eye" effect in the poly, the "chatter marks" from a poorly leveled drum), you haven't just lost money; you’ve lost the aesthetic soul of the house.

Common Failures and How to Fix Them
1. Chatter Marks: These are wavy lines across the grain, caused by a poorly maintained drum sander.
- Fix: You cannot just buff these out. You have to resand with a higher grit, starting at a 45-degree angle to the grain to "flatten" the wave. It’s an exhausting, time-consuming process.
2. The "Stain Blotchy" Look: Common in maple or pine. The wood absorbs stain at different rates due to density differences.
- Fix: Use a pre-stain conditioner. This is a step most DIYers skip because they want the job done faster. It’s the difference between a high-end look and a "painted" look.
3. Polyurethane Peel: Often happens when the previous floor had a wax finish and it wasn't removed completely before the new poly was applied.
- The Reality Check: If the previous owner used "Rejuvenate" or any "renewing" wax product, you have a massive problem. The poly will not adhere to wax. You have to scrub the floor with a wax remover or a high-grit abrasive until the floor feels "bone dry" and tacky-free. If you don't, your hard work will peel off in sheets within six months.
The Psychology of the "Finish"
There is a movement away from the "high-gloss" mirror finish that was popular in the 90s. The market now favors matte or satin finishes. Why? Because they hide imperfections. A high-gloss floor is a spotlight for every scratch, every mistake, and every dust mote. If you are selling to a modern buyer, a matte oil-based finish or a high-quality water-based matte finish will make your life much easier, as it hides the inevitable "DIY-grade" imperfections that occur even when you’re being careful.