Recovering a deleted partition table on an NVMe drive is less of a "software fix" and more of a surgical intervention on the metadata layer of your storage medium. When you trigger rm -rf, fdisk delete, or a botched gparted operation on a modern NVMe drive, the actual data—the bits representing your photos, databases, or research—usually remains physically intact on the NAND cells. The partition table is merely the map, and without the map, the OS sees the drive as a "raw" block of uninitialized silicon.
The Anatomy of the Disaster: GPT vs. MBR on NVMe
Before reaching for the command line, one must understand that NVMe drives almost exclusively use the GUID Partition Table (GPT) scheme. Unlike the legacy Master Boot Record (MBR), which stores its partition table in a fragile 512-byte sector at the very start of the disk (LBA 0), GPT is redundant.
GPT places a primary partition table at the beginning of the disk and—crucially—a backup copy at the very end. Most data loss scenarios occur because the user (or a malicious script) overwrites the primary table. If the backup at the end of the drive is also corrupted, you are entering the realm of manual header reconstruction, where tools like testdisk or gdisk stop being just utilities and start being digital forensic instruments.
The Immutable Rule of Operational Safety
If you are currently experiencing a partition table loss, stop writing to the drive immediately. Every second the OS stays mounted, it risks background tasks like fstrim (which is often automated in modern Linux distributions) triggering.
fstrim is the executioner of deleted data. Because SSDs must prepare cells for new writes, the TRIM command essentially tells the controller: "I no longer care about the data in these blocks; please wipe them for me." If fstrim runs on an unpartitioned drive, it may finalize the destruction of your data.
"Just as Why Traditional Cyber-Insurance Policies Are Failing Against AI Ransomware highlights systemic failures, the most dangerous thing you can do when a partition disappears is to try and 'fix' it via GUI-based installers. They often trigger a partition table rewrite that clears the sector where your old metadata resides." — Sysadmin discussion, Hacker News
Step 1: Low-Level Imaging (The "Do No Harm" Phase)
Before running recovery commands, you should never work on the source drive directly if the data is high-value. If you have the storage capacity, create a bit-level clone using ddrescue.
sudo ddrescue -d -r3 /dev/nvme0n1 backup.img mapfile
ddrescue is superior to dd because it handles bad sectors gracefully. It logs its progress, allowing you to resume if the drive drops out during the scan. Do not rely on standard copy-paste operations; they will fail the moment they hit a damaged metadata sector, a principle of data integrity that applies as much to file recovery as it does to ensuring Why Your Business Insurance Might Not Cover AI Mistakes.

Step 2: The gdisk Recovery Approach
If you suspect the partition table is simply "missing" but the partition boundaries are unchanged, gdisk (GPT fdisk) is your most reliable ally. It includes built-in recovery functions that look for the backup GPT headers.
- Launch:
sudo gdisk /dev/nvme0n1 - Enter the recovery menu: Press
x(expert mode), thene(relocate backup data structures). - If that fails, go back to the main menu and press
r(recovery/transformation). - Use
bto load backup partition table from the end of the drive.
If gdisk cannot find the backup, the partition table has likely been overwritten. You are now forced to use heuristic-based recovery tools like testdisk.
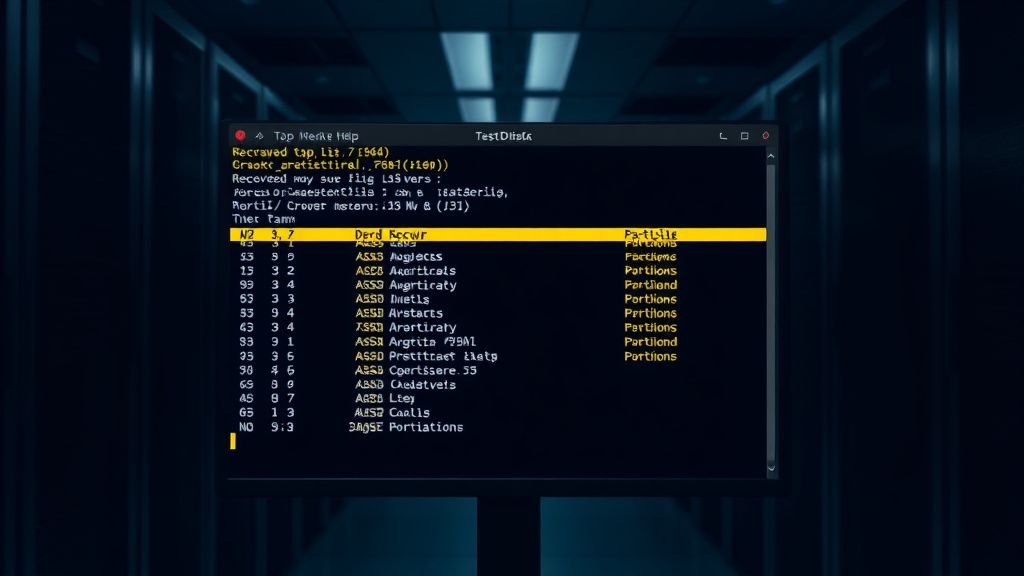
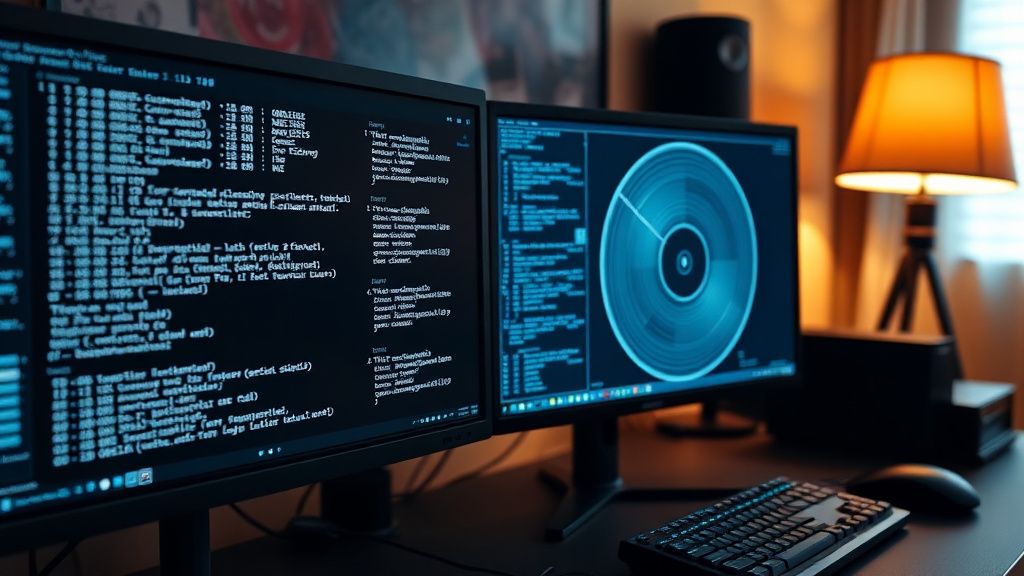
Step 3: Heuristic Recovery with testdisk
testdisk doesn’t care about the partition table; it scans the drive for signatures of common file systems (NTFS, EXT4, FAT32). It looks for the start of file system headers (superblocks) and essentially "guesses" where your partitions began and ended.
- Select the disk: Be careful to identify the NVMe device correctly (e.g.,
/dev/nvme0n1). - Select partition type: Usually
EFI GPT. - Analyse: Let it perform the scan. It will take time.
- Quick Search vs. Deeper Search: If "Quick Search" returns nothing, don’t panic. The "Deeper Search" is where the heavy lifting happens—it reads every cylinder for structures that look like a partition start.
Real Field Reports: The "TRIM" Trap
In 2023, a significant issue arose in the data recovery community regarding modern NVMe controllers. A user reported on a high-traffic forum that they recovered a partition table, but all files were 0-byte placeholders. This is the TRIM aftermath.
The partition table was lost, but the OS hadn't sent the TRIM command yet. The user, acting on bad advice, attempted to "repair" the partition table using a standard Windows tool. The tool wrote a new table, and the OS, recognizing a new partition, immediately sent a TRIM signal across the entire unallocated space to "prepare" the disk. The data wasn't just hidden; it was electrically erased from the NAND blocks.
"The irony is that modern file systems are too helpful. They try to keep the SSD clean, which in a recovery scenario, is the worst possible feature." — Comment from a Data Recovery Engineer, Reddit
Counter-Criticism and Industry Debates
There is a massive debate among professionals about the use of ddrescue vs. commercial software like R-Studio or UFS Explorer.
- The Purist Argument: Using open-source CLI tools like
gdiskandtestdiskteaches you how the storage stack actually works. It is cheap, transparent, and creates no vendor lock-in. - The Commercial Argument: Professionals argue that modern NVMe drives have proprietary error-handling firmware. Commercial tools often have specific "vendor-specific commands" that allow them to talk to the controller and bypass certain locked regions. If your data is worth $50,000, paying $500 for professional software that handles complex multi-lane striping (if you are on a RAID NVMe array) is not an expense; it’s an insurance policy.
Common Failure Points: Why Recovery Fails
Even with the best tools, you will hit walls:
- Encrypted Volumes: If your NVMe was encrypted via BitLocker or LUKS, recovering the partition table is only 10% of the battle. If the header (the area containing the encryption keys) is damaged, no amount of partition table restoration will grant you access. You need the header backup.
- Controller Failure: If the drive doesn't show up in
lsblkornvme list, you are not dealing with a partition table issue. You are dealing with hardware failure. Stop. Put the drive in a static-free bag and send it to a cleanroom facility. - Fragmented File Systems:
testdiskis great, but if your partitions were heavily fragmented before the crash, the file system metadata might be physically separated from the data clusters, leading to "file system corruption" errors even after the partition table is "fixed."
Infrastructure Stress and Scaling
When scaling recovery operations, the bottleneck isn't the CPU; it’s the IOPS of the interface. If you are recovering a 4TB NVMe, don't run testdisk over a USB 3.0 adapter. The overhead and stability issues of USB-to-NVMe bridges are legendary for causing disconnects during long scans. Always use a PCIe-to-M.2 expansion card if possible to ensure direct bus communication.
Why did my partition table disappear in the first place?
Most modern partition table losses are caused by OS updates (like Windows/Linux dual-boot conflicts), power surges during a firmware update, or human error in the command line (e.g., using
ddwith the wrongof=path). Rarely is it "just bad luck"—it's almost always a software-layer event.
Can I run recovery tools from the same drive that needs recovery?
Absolutely not. The very act of booting into an OS writes temporary logs, swap files, and cache data to the disk. You must use a "Live USB" environment (like SystemRescue or a Fedora Live ISO). This ensures the target NVMe remains completely unmounted and read-only.
What if my drive is missing from the list?
If
lsblkornvme listdoesn't see your drive, you have a hardware issue—likely a controller failure or a blown capacitor on the PCB. No amount of command-line magic will fix a physical dead-end. Do not try to "re-seat" the drive repeatedly if you suspect a short; you might damage your motherboard’s PCIe slot.
Is photorec a better option than testdisk?
Only as a last resort.
photoreccarves files by their signatures (e.g., it looks for the start of a JPEG or PDF file). It ignores partition tables entirely. Usetestdiskto find the partition first. Usephotoreconly if the file system is so shredded that mounting the partition is impossible.
How do I prevent this in the future?
The only real solution is the 3-2-1 backup rule. If you are working on high-value assets, you must have an immutable backup (like a cloud object store with versioning or an offline tape/HDD) that isn't susceptible to a single command-line typo or a kernel-level bug.