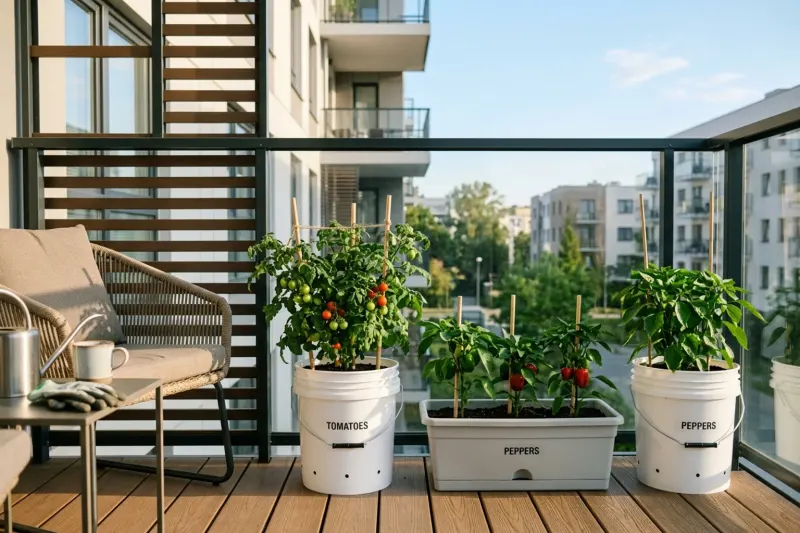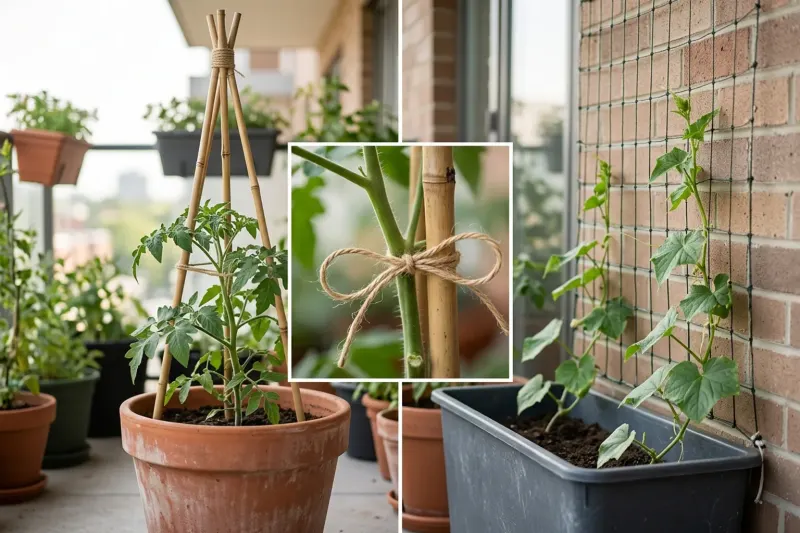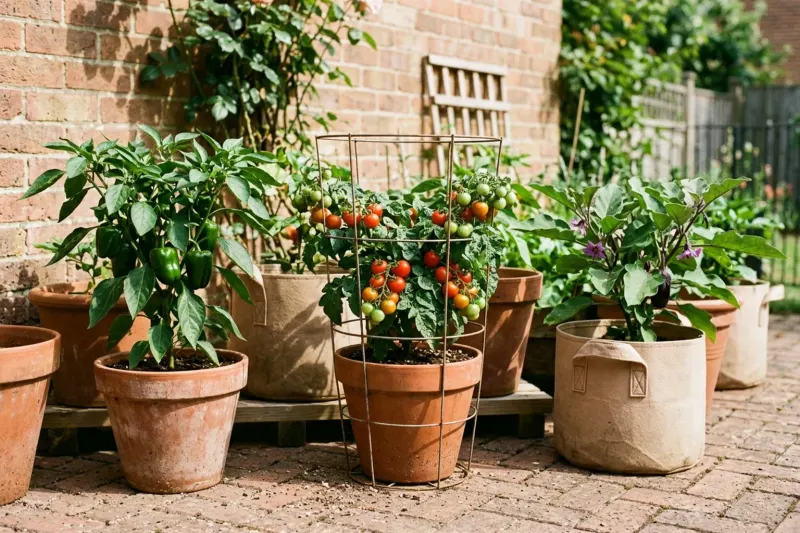
Can you reuse potting mix for container vegetables? Yes, as long as last season's crops stayed healthy and you refresh the mix before replanting. Discarding cubic feet of potting medium every spring creates unnecessary waste and physical labor, especially when you garden on a patio, rooftop, or balcony. However, potting mix is not permanent soil. Commercial mixes are engineered soilless blends made of peat moss, coconut coir, bark fines, and perlite. After a season of frequent watering, summer warmth, and root growth, the mix compacts, drains more slowly, and loses its original starter nutrients. Leftover fertilizer salts and residual root tangles can also hold back new seedlings. Reusing potting mix successfully requires screening out soilborne pests and diseases, sifting out old roots, restoring air spaces, and replenishing organic nutrients. With sound screening and proper blending, you can safely grow container vegetables in recycled potting medium year after year.
How Potting Mix Breaks Down Over Time
To manage old mix well, it helps to understand how it changes over a single summer. Fresh soilless potting blends rely on spongy organic fibers, usually sphagnum peat moss or coconut coir, blended with coarse mineral particles such as perlite or vermiculite. University of Illinois Extension emphasizes that container plants require these specialized blends because native garden dirt packs too tightly inside a pot, cutting off root oxygen and suffocating crops. Over a long growing season, however, even soilless mixes break down. Daily watering and warm summer temperatures cause peat and coir fibers to decompose and shatter into tiny particles. These fine fragments settle toward the lower half of the pot, filling the open spaces that previously carried oxygen to plant roots. When those air pockets disappear, water drains much more slowly, and root systems can suffocate during rainy periods. At the same time, regular watering washes away water-soluble plant nutrients, particularly nitrogen and potassium. The starter fertilizer packaged into commercial bags is generally exhausted within three to six months, as noted by Oklahoma State University Extension. In addition, hard tap water and synthetic liquid plant feeds leave behind soluble mineral salts. As the potting mix dries out between waterings, these salts form a pale, crusty ring along container rims and on the surface of the medium, pulling moisture away from young root hairs through osmotic pressure.
Related guide: Choosing Food-Safe Plastic Pots for Vegetables
When to Retire Mix: Disease and Pest Risks
Before deciding to reuse old potting mix, inspect the health history of the pot. Soilborne fungal pathogens, bacterial wilts, and microscopic root pests survive cold winters by sheltering inside tiny dead root fibers and decaying matter. If previous tomatoes, peppers, or squash suddenly wilted mid-summer while the mix was still damp, developed brown streaks inside stems, or rotted at the soil line, retire the medium immediately. Common pathogens like Fusarium, Verticillium, and Pythium produce resting spores that will attack the next vegetable crop planted in that same container. According to the University of Wisconsin–Madison Plant Disease Diagnostics Clinic, reusing media from diseased containers invites severe root rot, damping-off, and persistent wilts. Similarly, discard any mix found to host root-knot nematodes or invasive jumping worm cocoons. Do not attempt to bake or microwave diseased potting mix in your kitchen. Agricultural extension specialists warn against home heat treatment because it produces foul odors and kills beneficial microorganisms, leaving an open biological niche for fast-growing airborne mold spores to colonize. Solarizing potting mix under plastic sheets also fails to reach reliably lethal temperatures throughout deep containers in cloudy or cool regional climates. When plants have suffered fungal collapse or severe root infestations, bag the mix and dispose of it in municipal trash, or scatter it sparingly under established landscape shrubs where annual vegetable pathogens cannot harm woody ornamentals.
Related guide: Vertical Trellising for Potted Vegetables
Step-by-Step Reconditioning: Sifting, Flushing, and Fluffing
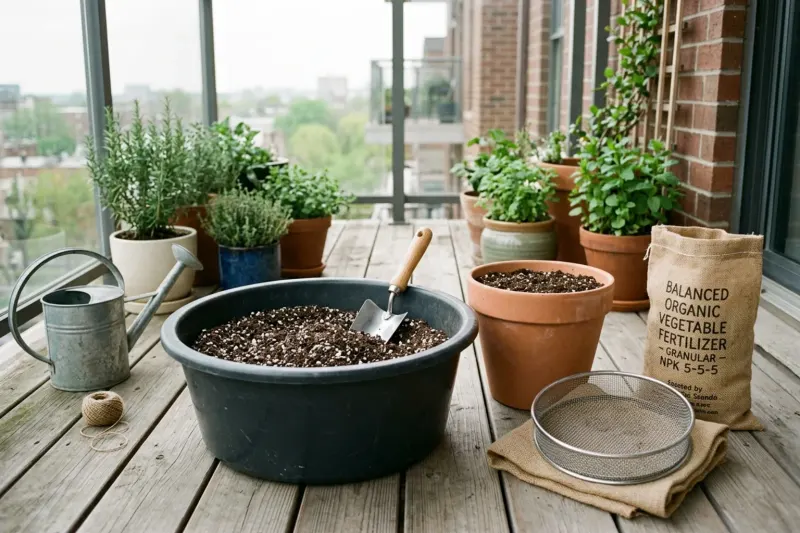
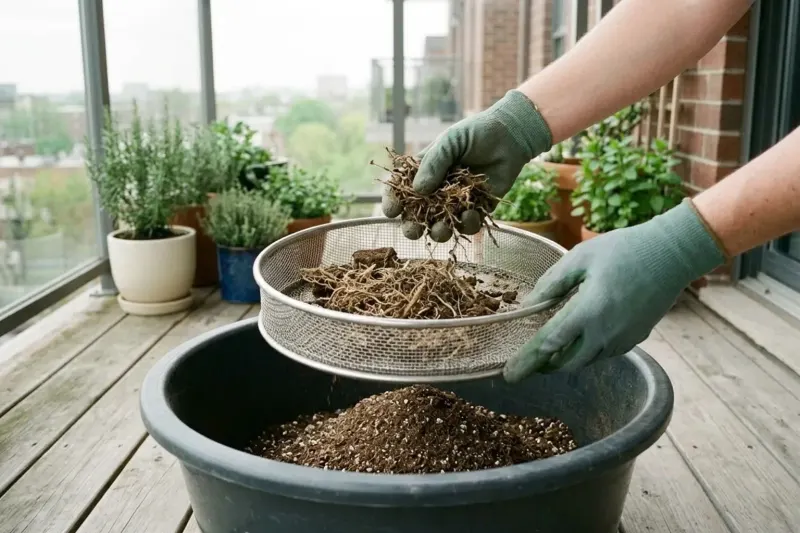
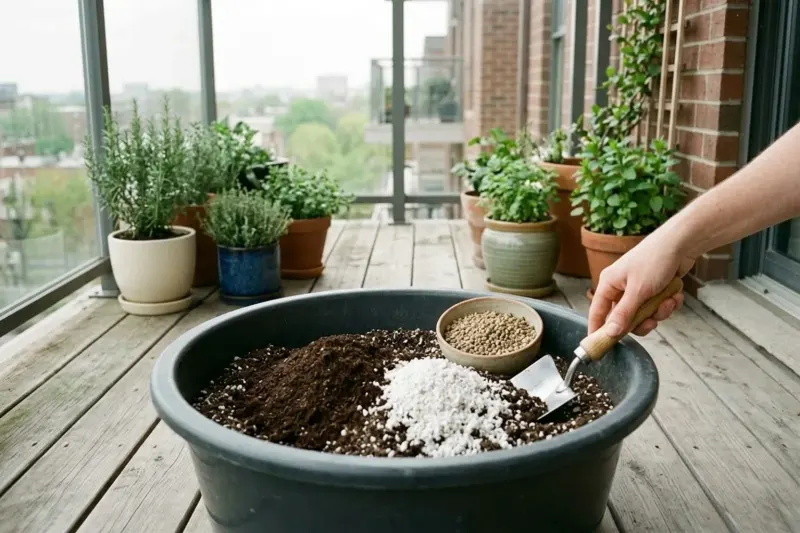
If your previous vegetables finished their harvest healthy and free of disease, the spent mix is ready to be reconditioned. Begin by tipping the dry container onto an outdoor tarp or into a shallow mortar tub. Use a hand trowel or your hands to break up the dense root ball. Pull out and discard large root masses, leftover stems, and old vegetable crowns. For finer debris, pass the mix across a wire sifting screen with half-inch (1.3 cm) hardware cloth mesh. Sifting removes decaying organic matter that would otherwise feed opportunistic saprophytic fungi and tie up nitrogen as it decomposes. Next, inspect the medium for white fertilizer salt crusts. If you spot salt deposits, put the screened mix into a porous fabric grow bag or a nursery pot with generous drainage holes. Leach the medium by flushing it with clean water several times until the water runs freely from the bottom, washing away built-up mineral salts. Finally, fix the soil structure. Because old peat compacts easily, add fresh coarse amendments to rebuild macro-pore void spaces. Blend in coarse horticultural perlite, pumice, or parboiled rice hulls at a rate of 10% to 20% of the total volume. These light mineral materials do not decompose, ensuring that water can drain quickly and oxygen can circulate through the root zone all season long.
Related guide: Container Vegetables for a Sunny Patio
Replenishing Nutrients and Blending Ratios
Sifted and aerated potting mix provides physical support for root systems, but it contains almost no usable plant nutrition. Extension educators recommend combining recycled mix with fresh growing medium rather than growing vegetables in 100% used substrate. A dependable starting formula is a 50:50 blend: combine half recycled mix with half fresh commercial potting soil or finished, weed-free compost. Mixing in fresh compost introduces beneficial soil microbes, adds stable organic humus, and improves moisture distribution. If you grow in large permanent containers such as half-barrels, elevated cedar beds, or 25-gallon planters where dumping the entire volume is impractical, Oklahoma State University Extension recommends removing the top 6 inches (15 cm) of spent mix each spring. Refill that upper layer with a blend of fresh potting mix and rich compost. Use a hand fork or cultivator to gently work the new material into the layer beneath it so roots do not run into an abrupt physical boundary. At planting time, add a balanced, slow-release granular organic vegetable fertilizer according to product package directions. Once crops begin flowering and setting fruit, supplement with a balanced liquid organic feed to sustain active production.
Cleaning Pots and Rotating Plant Families
Reconditioning your potting mix will not protect your plants if the container itself carries microscopic pathogen spores or pest eggs. Before refilling plastic, glazed ceramic, or resin pots, use a stiff brush and warm, soapy water to scrub away dried soil rings, mineral crusts, and clinging root fragments. To disinfect non-porous containers, Iowa State University Extension and the University of Wisconsin–Madison Plant Disease Diagnostics Clinic advise soaking clean pots for 10 to 30 minutes in a 10% household bleach solution made from one part bleach to nine parts water. Rinse containers thoroughly with clean water before refilling. Terracotta containers absorb chemicals deeply, so clean them with hot water and a firm brush instead of bleach solutions. In addition to pot sanitation, follow strict crop rotation principles in container gardening. Never grow crops from the same botanical family in the same pot two years in a row. If a container grew solanaceous nightshades (such as tomatoes, bell peppers, or eggplants) last year, plant it with legumes (such as bush beans or peas), brassicas (kale or radishes), or leafy greens (lettuce or spinach). Changing plant families cuts off the host cycle for family-specific pests and fungal residues that might linger in microscopic root scraps.
Off-Season Storage for Small Spaces
If you clear out containers in autumn after a killing frost, do not leave spent potting mix sitting in open pots through wet winter weather. Freezing and thawing cycles break down perlite into dust and turn soggy peat into heavy, airless sludge. Open containers also collect windblown weed seeds and give shelter to overwintering insects such as fungus gnats. After pulling spent vegetable plants and sifting out roots, let the mix dry out until it feels slightly damp rather than soaking wet. Pack the dry mix into heavy-duty plastic storage bins with tight-fitting lids, or seal it inside thick contractor trash bags. Store these containers under a balcony awning, inside an unheated garden shed, or along a sheltered garage wall where rain and snow cannot reach them. When spring planting season approaches, pour the stored mix into your tub, check its moisture, mix in your fresh compost and perlite amendments, and confirm your local frost dates through your regional cooperative extension office before transplanting warm-season vegetables outdoors.
Determining How to Handle Last Season's Potting Mix
| Situation | Consider | Why |
|---|---|---|
| Previous crop collapsed from fungal wilt, vascular discoloration, or unexplained mid-summer root rot | Discard mix completely in municipal trash or yard waste; sanitize pot | Resting structures of persistent fungal and bacterial pathogens survive winter drying and re-infect subsequent susceptible vegetable crops. |
| Previous crop finished healthy and produced a full harvest in a moderate-sized container (5–10 gal / 19–38 L) | Blend 50% spent mix with 50% fresh mix or compost, plus 10% perlite and slow-release fertilizer | Restores biological activity, macro-pore aeration, and essential baseline fertility depleted by seasonal watering. |
| Mix remains in an oversized heavy planter (20+ gal / 75+ L) on a small balcony or rooftop | Excavate top 6 inches (15 cm), replenish with compost and fresh mix, and fork into the transition zone | Avoids dangerous lifting and hauling while introducing fresh biology and nutrients where new feeder roots concentrate. |
| Mix is heavily encrusted with white, powdery mineral deposits from tap water and synthetic liquid feed | Thoroughly leach the volume with clean water before blending with coarse amendments | Soluble fertilizer salts pull water out of young roots via osmotic pressure, causing root tip burn. |
Hypothetical Scenario: Refreshing a 10-Gallon (38 L) Planter for Bush Beans
Assume you have a 10-gallon (38-liter) nursery container that successfully grew an undamaged bell pepper plant last summer. In early spring, dump the dry mix onto an outdoor tarp. Break apart the root ball and remove approximately 5 gallons (19 L) of the densest root-bound core, discarding the tangled roots. Sift out remaining small woody debris through a half-inch (1.3 cm) wire screen. Add 4 gallons (15 L) of new soilless potting mix and 1 gallon (3.8 L) of finished, screened compost to replace the discarded volume. Blend in 1 gallon (3.8 L) of coarse horticultural perlite (representing 10% of container volume) to restore macro-pore aeration, along with 0.5 cup (120 ml) of a balanced, granular organic 5-5-5 vegetable fertilizer according to manufacturer label directions. Thoroughly integrate all components on the tarp to form a uniform, homogeneous media blend. Scrub the container in a 1:9 bleach-to-water dilution, rinse thoroughly, refill completely with the uniform blend, and plant bush snap beans, successfully completing an intentional crop rotation away from solanaceous nightshades.
- Homogeneous Blend: 50% Sifted Recycled Mix, 40% Fresh Media, 10% Perlite + Granular Fertilizer
- Free-Draining Base with Open Drainage Holes (No Gravel or Separated Media)
When this approach is not a good fit
Reusing potting mix is unsuitable when the prior harvest displayed unexplained root-knot galls, stunting, or vascular wilting; for starting tiny seeds in shallow plug trays (where unpasteurized mix causes damping-off); or when container substrates have completely decomposed into dense, muck-like silt due to three or more continuous years of degradation without aeration amendments.
PUT THIS GUIDE TO USE
Work with your own measurements
Sources & further reading
AI-assisted writing and concept images. Sources and automated checks support the process; they do not replace checking your own measurements.
How we create our guides · Suggest a correction