
Quick Answer: A stuck Milwaukee M12 drill trigger is almost always caused by debris accumulation, a worn trigger switch assembly, or a corroded contact board inside the grip housing. In most cases, you can disassemble the handle, clean or replace the variable-speed trigger module, and restore full function in under 45 minutes with basic hand tools — no specialized electronics knowledge required.
There's a particular kind of frustration that hits when you pick up a tool you trust, squeeze the trigger, and nothing happens. Or worse — something almost happens. The motor hums at a fixed speed regardless of how lightly you press. The trigger catches, stutters, clicks but doesn't engage. Or it engages once and then refuses to reset.
The Milwaukee M12 line has earned a serious reputation in trades work and serious DIY circles. The platform is genuinely well-engineered, and its battery ecosystem is deep, offering a range of compatible tools. The 12V form factor sits in a sweet spot between power and compactness that a lot of professionals actually prefer over beefier 18V or 20V tools for close-quarters work. For other common power tool issues, such as a stuck Milwaukee M18 drill chuck, there are also detailed repair guides available. But none of that reputation insulates the trigger mechanism from the physical reality of being a small electromechanical component that gets squeezed hundreds — sometimes thousands — of times across a tool's life. Similarly, other power tools can experience specific mechanical issues, such as a wobbling DeWalt 20V saw blade, which often require careful diagnosis and repair.
The trigger switch on these drills is a variable-speed control module. It's not a simple on/off contact. It's a proportional input device: the deeper you press, the more current flows, the faster the motor spins. That elegance is also its vulnerability. More mechanical complexity inside that switch housing means more things that can wear, stick, corrode, or fail under load.
This guide is about understanding what's actually happening inside that mechanism, diagnosing which specific failure mode you're dealing with, and walking through a real disassembly and repair — not a sanitized version where every screw comes out cleanly and every part looks brand new.
Understanding the M12 Trigger Mechanism: What You're Actually Dealing With
Before you touch a screwdriver, it helps to understand the component you're working on.
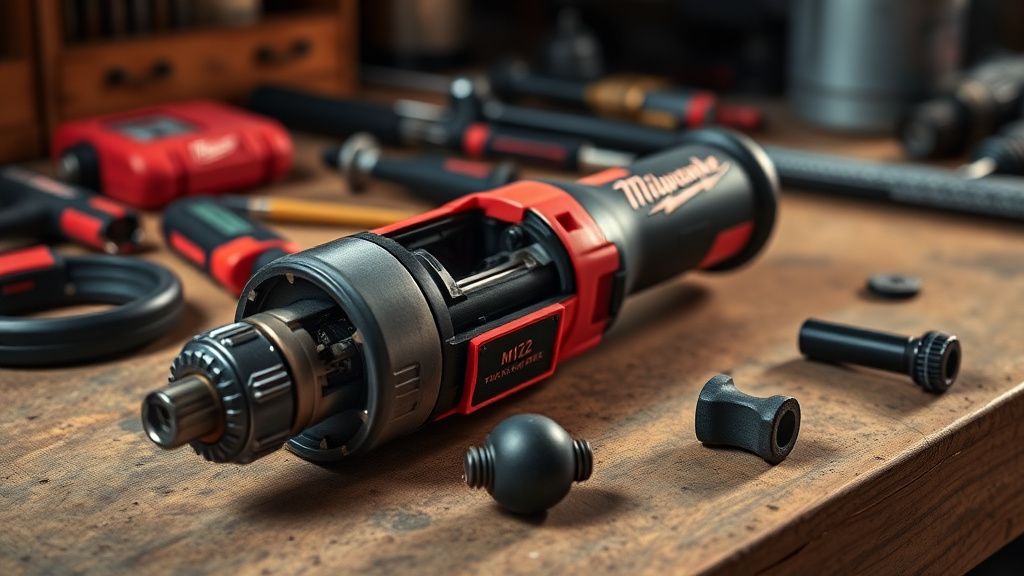
The M12 compact drill/driver (most commonly the 2401, 2402, 2407, and their variants) uses a variable-speed trigger switch assembly that combines mechanical actuation with an internal potentiometer or resistive contact strip. When you pull the trigger, you're physically compressing a spring-loaded plunger that simultaneously closes a main power circuit and adjusts the resistance value read by the tool's motor control board.
This is fundamentally different from how a cheap consumer drill works. A budget drill often uses a simple rheostat or a basic PWM module slapped on a circuit board. Milwaukee's M12 switches are self-contained units — the switch assembly is essentially a black box module that interfaces with the board on one side and the trigger paddle on the other.
What goes wrong inside:
- Carbon brush residue or fine metal particulate works its way into the trigger housing from the motor, especially in drills used heavily for metal work or concrete
- The return spring weakens or breaks, causing the trigger to not reset to neutral
- The internal contact surface corrodes, particularly in humid environments or tools stored without battery for extended periods
- The trigger paddle itself physically cracks or warps, especially on older units exposed to temperature cycling
- Sawdust and debris packing into the gap between the trigger and housing, creating mechanical friction that's mistaken for an electrical fault
The most commonly misdiagnosed case: the trigger feels stuck but the tool actually runs at full speed constantly. This is usually a contact short inside the switch module — the circuit is permanently closed — which is an electrical failure, not a mechanical one. Important distinction, because it changes how you approach the fix.
Diagnosing the Failure Before You Disassemble Anything
Community threads on r/MilwaukeeTool and various contractor forums have a recurring dynamic where someone posts "my trigger is stuck" and five people immediately say "replace the switch" — which may be correct, but skips the diagnostic step that could save you $15–$25 and 30 minutes.
Step 1: Characterize the failure precisely
Ask yourself:
- Does the drill not respond at all when you pull the trigger?
- Does it run at full speed the moment you insert the battery, before you touch the trigger?
- Does it run at partial speed and refuse to go faster or slower?
- Does the trigger physically not move, or does it move but nothing happens electrically?
- Does it work intermittently — fine on one pull, dead on the next?
These are different failure modes with different root causes.
No response at all: Check the battery first. Seriously. Check the pack in another tool. Then check the battery terminal on the drill for debris or corrosion. If the battery and terminals are fine, the problem is likely inside the switch assembly or the motor control board.
Full speed immediately: Short circuit inside the trigger module. The internal contacts are welded together or bridged by conductive debris. The switch needs to come out.
Partial speed, won't modulate: Usually a worn potentiometer track inside the switch. The switch reads a fixed resistance value regardless of trigger position.
Trigger physically won't move: Mechanical obstruction. Debris, a broken return spring, or a warped trigger paddle.
Intermittent operation: Dirty or corroded contacts. Often cleanable without full replacement.
Step 2: Visual inspection without disassembly
Look into the gap around the trigger paddle with a flashlight. You're looking for visible debris accumulation, cracking, or deformation. A compressed air blast into the trigger gap (with the battery removed) sometimes fixes a physically stuck trigger outright if the cause was just debris packing.
Hacker News once had a thread — tangentially about tool reliability and the economics of repair vs. replace — where someone noted that "the first rule of fixing anything is to make sure it's actually broken before you open it up." Compressed air and a visual inspection have saved a lot of unnecessary teardowns.
Tools and Parts You'll Need
This is not a complicated repair. You don't need a soldering iron for most scenarios.
Tools:
- Phillips #1 and #0 screwdrivers (the M12 housing uses small Phillips screws; having both sizes matters)
- Torx T10 or T15 screwdriver (some M12 variants use Torx on internal components)
- Plastic pry tool or thin flathead wrapped in tape (to avoid marring the housing)
- Needle-nose pliers
- Compressed air can or small air compressor
- Electrical contact cleaner (CRC QD Electronic Cleaner or equivalent)
- Multimeter (useful but not strictly required for the basic repair)
- Small container or magnetic tray for screws
Parts (if replacing):
- Milwaukee M12 variable-speed trigger switch (part number varies slightly by model — 2401 vs. 2402 vs. 2407; verify with the model number on your tool's nameplate)
- Replacement trigger return spring if yours is broken (sometimes sold separately, sometimes only as part of a switch assembly)
Sourcing is a real issue worth addressing. Milwaukee's authorized service dealer network carries these parts, but availability is inconsistent. Online parts suppliers like eReplacementParts, ToolPartsDirect, and RepairClinic typically stock M12 trigger assemblies, but lead times vary. The OEM part is almost always preferable — aftermarket M12 trigger switches have a mixed reputation in the DIY repair community, with reports of inconsistent tolerances causing the paddle to sit improperly in the housing.
"I bought an aftermarket switch for my 2401 and the trigger travel felt completely different — too stiff at the start, then suddenly full speed. Went back to the OEM part and it was night and day." — paraphrased from a recurring complaint pattern in ToolPartsDirect and Amazon reviews for non-OEM M12 trigger assemblies
Step-by-Step Disassembly and Repair
Removing the Battery and Preparing the Work Area
Remove the M12 battery pack. This is obvious, but worth stating explicitly: some people work on tools with batteries installed. Don't. The M12 platform operates at 12V but the trigger switch contacts can arc when shorted, and contact cleaner is flammable.
Set the tool's direction selector to center (neutral position). This relieves tension on certain internal components and makes reassembly easier.
Work on a clean, well-lit surface. The M12 housing screws are small and the return spring inside the trigger assembly has a talent for launching itself across the room.
Opening the Housing
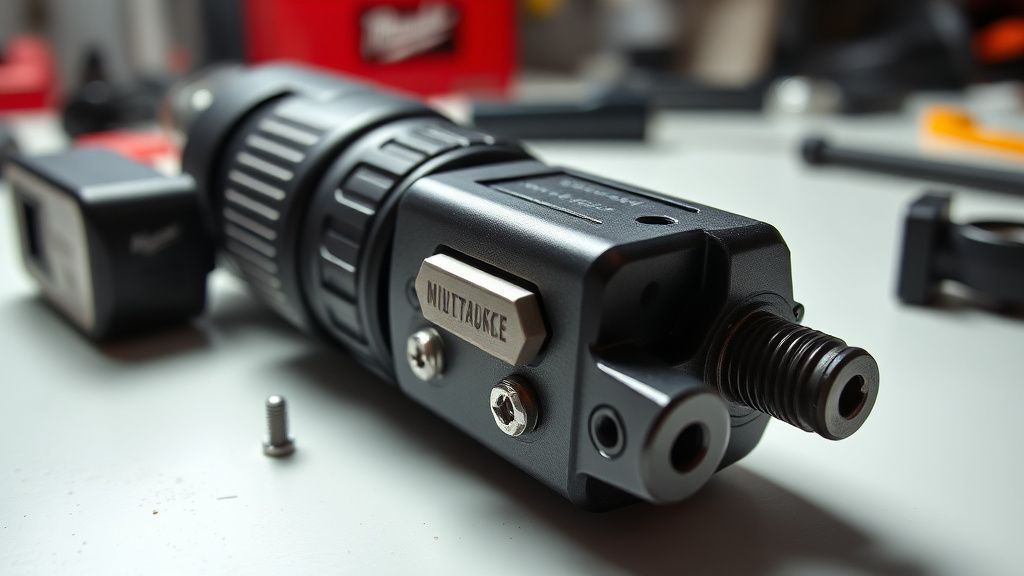
The M12 drill/driver housing is a clamshell design — two halves held together by screws running along the grip and body.
Locate all housing screws. Depending on your variant, there are typically 6 to 8 screws in the handle and body. Some are hidden under label stickers on older units — you'll feel them if you run a fingernail along the housing seam.
Remove all screws and set them in your magnetic tray. They're all typically the same length on the grip section, but some body screws may be slightly longer. Note which ones came from where.
Carefully separate the two housing halves. Do not force this. If it resists, you've missed a screw. When you've got all screws out, the halves separate with mild prying along the seam — the plastic clips that align the halves will release with a soft pop.
As you separate the halves, be aware that:
- The direction selector lever may come loose
- The bit holder or chuck collar assembly may shift
- Wire routing between the two halves can resist separation — don't yank
Accessing the Trigger Assembly
With the housing open, you'll see the trigger assembly sitting in the grip section. It consists of:
- The trigger paddle (the external piece you press)
- The switch module body (a roughly rectangular component, often black or dark gray, with two wire leads coming off the back)
- A return spring
- A small retaining clip or tab holding the module in position
In some M12 variants, the switch module is held in by a small retention bracket screwed to the housing interior. In others, it just sits in a molded pocket.
Before removing anything: take a photo. Document the wire routing and the orientation of the switch module. The wires coming off the switch connect to the motor control board and to the battery terminal path — they have a specific orientation and you need to replicate it on reassembly.
Cleaning vs. Replacing: Making the Call
Remove the switch module from its pocket. Disconnect the wire leads — they typically use push-on spade connectors or a small friction-fit connector block.
If cleaning: Spray contact cleaner into every gap in the module body. Work the trigger paddle back and forth while the cleaner is wet. Blast compressed air through. Repeat. If the trigger action improves and the module reads a clean range on a multimeter (0 ohms at full pull through to open circuit at rest, or the equivalent variable resistance sweep depending on your model's design), the module may be salvageable.
If replacing: Installation of the new module is the reverse of removal. Seat the module in its pocket, ensure the trigger paddle aligns with the housing aperture, reconnect the wires in the correct orientation (the photo you took earlier matters here), replace any retention clips or brackets.
The return spring: If your specific failure was a physically stuck trigger that doesn't spring back, inspect the return spring now. It's a small coil spring that sits either inside the switch module or between the module and the housing pocket. A broken or dislodged spring is an easy fix — new spring, correctly seated.
Reassembly
Bring the housing halves back together carefully. Before fully closing, operate the trigger by hand to confirm the paddle moves freely through its full travel range. Check that the direction selector lever is seated in its groove. Ensure no wires are pinched in the housing seam.
Close the halves together, aligning the registration tabs, and reinstall the screws. Do not overtighten — the housing is plastic and the screws strip easily. Snug is sufficient.
Real Field Reports: What Actually Goes Wrong Out There
The sanitized version of this repair makes it sound straightforward. And often it is. But here's the operational reality from actual repair experience and community documentation:
The housing screw that became a drill bit: One recurring complaint on Milwaukee tool forums involves older M12 units where a housing screw gets stripped — often by someone who attempted the repair before and used the wrong screwdriver size. Now you're dealing with a stuck screw before you can even access the problem. A screw extractor or carefully applied manual pressure with an oversized screwdriver sometimes works. Sometimes you end up drilling out the boss.
Wire lead length: On some M12 production runs, the wire leads from the switch module to the board are cut very short. If the switch module was replaced in a previous repair with a slightly different-dimensioned part, those leads can be under tension. Open the housing carelessly and you're dealing with a fractured solder joint or a torn wire — a problem that now requires a soldering iron.
The "replaced the switch, still broken" scenario: This happens more than it should. The switch module is replaced, tool is reassembled, trigger still doesn't modulate properly. Usually one of two causes: the aftermarket switch has different electrical characteristics than the OEM (confirmed by multiple Reddit posts in r/Tools and r/fixit), or the motor control board itself is damaged — typically from the original short-circuit failure that also took out the trigger. If you're replacing the switch on a tool that previously ran at full speed constantly (the "shorted switch" scenario), check the control board for heat damage.
Intermittent fix that lasts two weeks: Contact cleaning is not always a permanent solution. If the internal contact surface is genuinely worn through its plating, cleaning removes contamination but can't restore metal. The fix may hold briefly and then the intermittent behavior returns. At that point, replacement is the correct answer.
Counter-Criticism and the Repair vs. Replace Debate
There's a legitimate counter-argument to DIY trigger repair on the M12 platform that deserves honest engagement.
Milwaukee sells this trigger switch assembly for somewhere in the $15–$30 range depending on the model and supplier. A replacement M12 compact drill/driver — the 2407-20 bare tool, for example — has appeared at sub-$60 price points at major retailers during sales cycles. If your trigger repair fails, if you strip a housing screw, if a wire lead breaks, or if the control board is also damaged, you can quickly find yourself with a tool that's worse than when you started and an additional $25–$40 in parts invested.
The counterargument on the repair side: the battery ecosystem cost is real. If you're already on the M12 platform, you have M12 batteries. A bare tool still makes sense financially. But more than that — the environmental argument matters. Tools that end up in landfills because of a $20 switch failure represent a genuine waste problem in the power tool industry.
Milwaukee has acknowledged aftermarket serviceability is a real concern but hasn't made substantial structural changes to make the M12 platform more repair-friendly. The housing fasteners are standard Phillips rather than proprietary, which is better than some competitors, but the internal component sourcing remains somewhat opaque, and the availability of OEM parts through non-dealer channels is inconsistent.
iFixit has repair guides for some Milwaukee tools but the M12 drill trigger specifically has minimal official documentation. The repair community is largely self-organized — forum threads, YouTube teardowns, and community-maintained parts diagrams rather than anything Milwaukee provides officially.
Prevention and Long-Term Maintenance
The trigger mechanism on any drill benefits from occasional compressed air cleaning, especially if you're doing work that generates fine debris — drywall, MDF cutting, metal drilling, tile work. The M12's trigger gap is narrow but not sealed.
Avoid storing the tool with the battery installed and the trigger under any compression — common when tools are stored in tight bags or boxes where something can press against the trigger. This isn't an immediate failure mechanism, but over months and years it contributes to spring fatigue.
If the tool sits unused for an extended period, a quick trigger actuation check before putting it back in rotation catches a corroding contact early — when cleaning can still fix it — rather than after the contact has degraded past recovery.