Quick Answer: A Honda HRX lawn mower that won't start almost always traces back to a fuel system problem — stale gasoline, a clogged carburetor, a blocked fuel line, or a faulty fuel cap vent. Drain the old fuel, clean or replace the carburetor, inspect every fuel passage, and you'll resolve roughly 80–85% of no-start complaints without touching the ignition system.
There's a particular kind of frustration that comes with a Honda HRX sitting dead on the driveway at the start of mowing season, much like encountering the issue of why a DeWalt 20V saw blade might be wobbling and how to fix it. It started fine last October. You put it away. You pulled it back out in April and now it just cranks, or coughs once, or does absolutely nothing useful. The engine is fundamentally sound — Honda's GCV160 and GCV200 series engines powering the HRX lineup have a well-earned reputation for reliability — but the fuel system is, operationally speaking, the machine's most vulnerable subsystem, and it fails in predictable, diagnosable ways, not unlike how a Dyson V15 might pulse due to suction issues that require specific fixes.
This guide is not a quick tip list. It's a complete technical walkthrough of what actually happens inside the HRX fuel system when things go wrong, why they go wrong, what the failure looks like from the outside, and how to fix it properly rather than temporarily, similar to understanding why a Ryobi pressure washer might be pulsing due to pump and valve issues.
Understanding the HRX Fuel System Architecture and Why It Fails
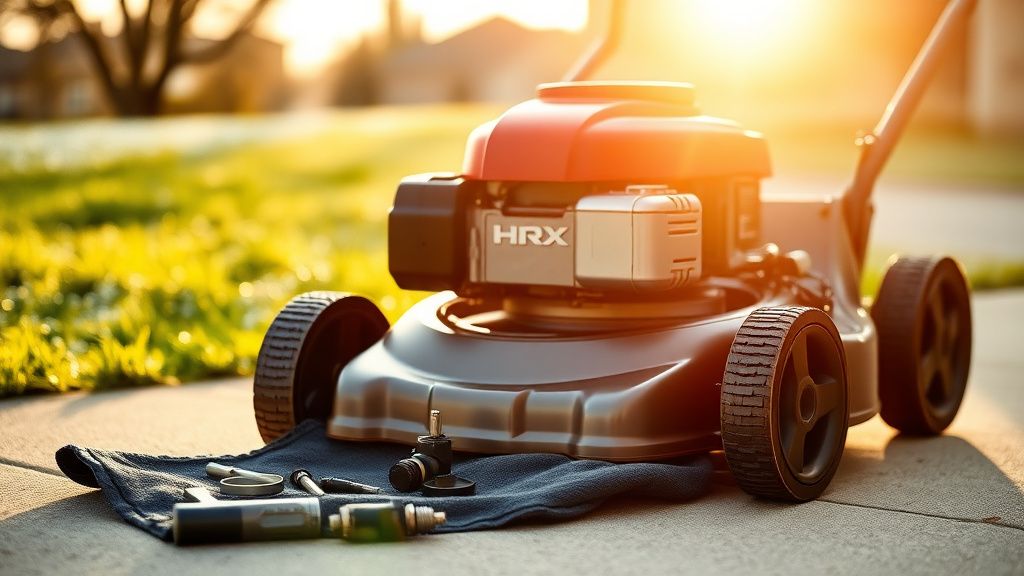
The Honda HRX series — specifically models like the HRX217, HRX217K5, HRX217K6, and HRX217VKA — uses a relatively simple gravity-fed carburetor fuel system. Fuel sits in a translucent plastic tank positioned above the carburetor, flows down a short rubber fuel line, passes through an inline fuel filter (on some models integrated into the tank pickup), enters the carburetor float bowl, and waits to be metered into the engine.
On paper, this system is nearly bulletproof. In practice, it has three chronic failure points that the Honda service community — from professional dealers to the sprawling Reddit r/lawnmowers and r/smallengines communities — documents relentlessly every spring.
Failure Point 1: Ethanol-blended fuel and varnish deposits
Modern pump gasoline in the United States contains 10% ethanol (E10) as a baseline, and in some regions E15 has become available at the pump. Ethanol is hygroscopic — it pulls moisture from ambient air. In a stored mower, this process continues across the off-season. The water-ethanol mixture separates from the gasoline and settles at the bottom of the fuel system. When that degraded fuel contacts the brass jets, aluminum passages, and rubber components in the HRX carburetor, the outcomes are chemical, not mechanical: varnish deposits coat the needle valve seat, emulsion tube, and main jet; the rubber inlet needle tip swells and sticks; the brass main jet orifice — which is approximately 0.028 to 0.032 inches in diameter depending on model — becomes partially or fully blocked by gum deposits.
A Hacker News thread from 2022 about small engine repair ("Ask HN: Why does my mower die every spring?") had a reply from a user identifying as a Honda-certified small engine technician that read: "Ethanol is genuinely the enemy of anything with a float-bowl carburetor that gets stored seasonally. The jet orifice is smaller than a human hair width. A layer of varnish you can barely see is enough to drop fuel delivery below what the engine needs to run." That's not hyperbole.
Failure Point 2: Fuel cap vent blockage
The Honda HRX fuel tank cap contains a small atmospheric vent. As fuel is consumed from the tank, air must enter to replace it. If the vent is blocked — by dirt, degraded rubber, or simple age — the tank develops a vacuum. The carburetor starves for fuel. The engine starts briefly on whatever fuel is already in the float bowl, then dies. This is the failure mode that gets misdiagnosed constantly as a carburetor problem. The field test is almost embarrassingly simple: loosen the fuel cap slightly while attempting to start the engine. If it starts and runs with the cap loose, the vent is blocked. Replace the cap.
Failure Point 3: Fuel line cracking and permeation
The HRX fuel lines are short runs of rubber or reinforced rubber tubing. After several years of thermal cycling, ethanol exposure, and UV degradation (even indirectly, from engine heat), these lines develop micro-cracks, become brittle, or permeate fuel vapors in ways that allow air into the fuel stream. Air in the fuel line produces a lean condition that prevents starting or causes intermittent stalling. Visually inspecting the fuel line with the tank full will sometimes reveal pinhole weeping. More often, you won't see anything — the crack only opens under the negative pressure the carburetor creates during operation.
Diagnosing the Problem Before You Touch Anything
The temptation when a Honda HRX won't start is to immediately pull the carburetor. Resist this. A five-minute diagnostic sequence will tell you whether you actually need to do that or whether you're chasing the wrong problem.
Step 1: Verify Fuel Quality and Quantity
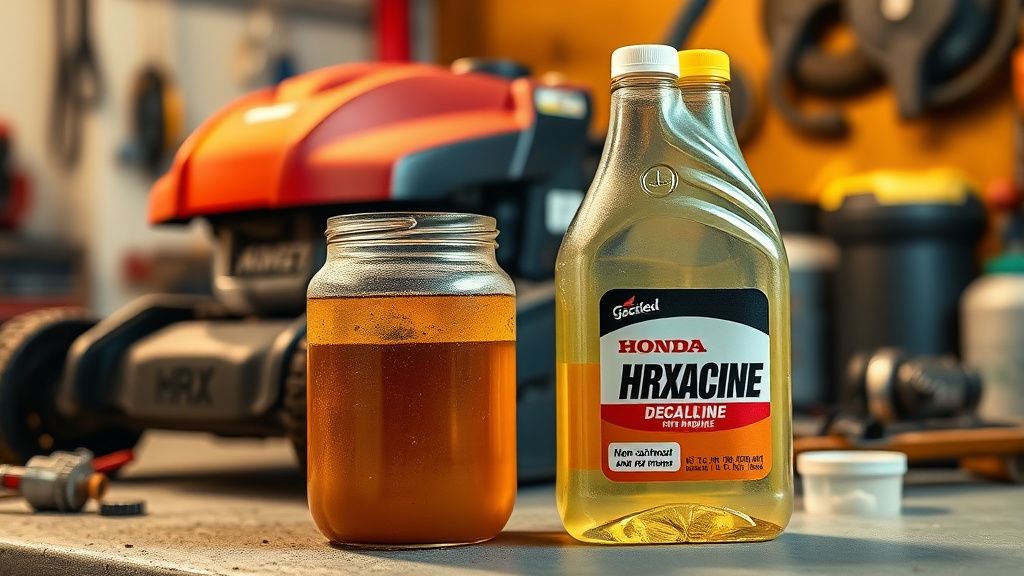
Open the tank and look at the fuel. Old gasoline is unmistakable once you know what you're looking at — it's darker, sometimes slightly orange or brown, and has a distinctly sour or lacquer-like smell rather than the sharp, volatile smell of fresh fuel. If the fuel has been sitting for more than 30 days without a fuel stabilizer, assume it has degraded. The question isn't whether to drain it — drain it — but whether the degradation has already left deposits in the carburetor.
If the fuel looks and smells reasonably fresh (it's an early-season start on fuel that was properly stabilized and the mower was used as recently as last fall), move on to the other checks before disassembling the carburetor.
Step 2: The Fuel Cap Vent Test
As described above: loosen the cap, attempt to start. If the engine starts or attempts to fire more convincingly with the cap loose, stop there. The carburetor may be fine.
Step 3: Check for Spark
This is not a fuel system diagnostic, but it eliminates the other major no-start cause before you spend an hour cleaning a carburetor that wasn't the problem. Remove the spark plug. Connect it to the plug wire and hold it against a metal surface on the engine block. Crank the engine. You should see a sharp blue spark. A weak yellow-orange spark, or no spark, means the ignition system — coil, plug, or module — is the problem, not the fuel system. Replace the plug first (NGK BPR6ES or the Honda-specified equivalent for your model) as a baseline.
Step 4: The Fuel Flow Confirmation
Disconnect the fuel line at the carburetor inlet. Have a small container ready. Crank the engine (or simply let gravity work with the petcock open if your model has one). Fuel should flow steadily. A trickle or nothing means the line is blocked, kinked, or the inline filter is clogged. Strong flow here confirms the fuel delivery hardware upstream of the carburetor is functional.
The Full Carburetor Service Procedure
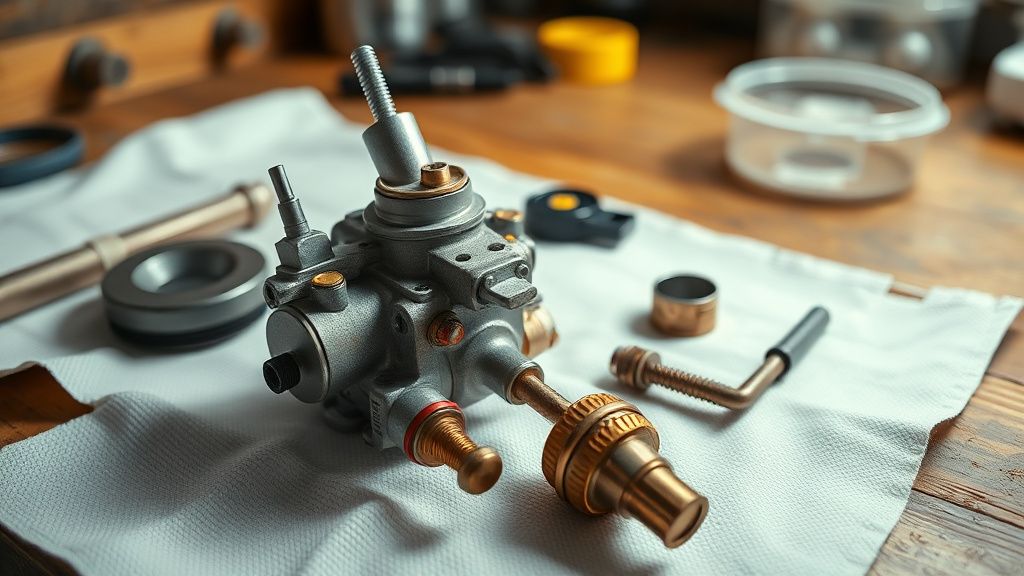
If the diagnostic sequence points to the carburetor — which it will for the majority of spring no-start complaints — here is the complete service procedure. This applies primarily to the Keihin carburetor used across the HRX GCV160 and GCV200 variants.
Tools and Materials
- Phillips head screwdriver (#2)
- Flat-blade screwdriver
- 10mm socket or wrench
- Carburetor cleaner (aerosol with straw applicator — Berryman B-12 Chemtool or WD-40 Specialist Carb Cleaner are commonly used in the field)
- Compressed air source (even a bicycle pump will work for blowing passages)
- Small wire — a guitar string or a single bristle from a wire brush — for gentle mechanical cleaning if aerosol alone doesn't clear the jet (controversial — more on this below)
- New carburetor gaskets (Honda part numbers vary by model — HRX217 uses 16221-ZL8-000 for the bowl gasket, but verify against your specific serial number)
- New inline fuel filter if applicable
- Fresh fuel (non-ethanol 91+ octane is the professional recommendation for seasonal equipment; ethanol-free pump gas is available in most U.S. regions through resources like pure-gas.org)
Carburetor Removal
The HRX carburetor is accessed by removing the air cleaner assembly — two bolts securing the housing, disconnect the breather tube from the valve cover — and then disconnecting the throttle linkage and choke linkage from the carburetor body. Both use simple hooked connections; photograph them before disconnecting if you're unfamiliar with the routing. Two bolts (typically 10mm) secure the carburetor to the intake manifold. Note the positioning of the throttle plate before removal.
The fuel line has a spring clamp. Slide the clamp back with needle-nose pliers and pull the line free. Have your container ready — whatever fuel is left in the line will drain.
Disassembly
The float bowl is retained by a single bolt at the bottom. Remove it. Fuel and varnish residue will drain out — the condition of this fluid tells you a lot about what you're dealing with. Dark brown syrup means heavy deposits; you may be cleaning for a while or considering an outright carburetor replacement.
The main jet is threaded into the center casting inside the bowl cavity. It's brass, typically 8mm or 10mm hex, and it strips easily if you use an oversized wrench or apply force while the carburetor is still warm. Remove it carefully. Hold it up to a light source and look through the orifice. You should see light clearly. Any partial obstruction, even a slight haze, needs to be cleared.
The float is retained by a pin. Remove the pin, drop the float and attached inlet needle valve. Inspect the rubber tip of the needle — if it has a groove worn into it, or if the rubber appears swollen or deformed, replace the needle and seat assembly.
Cleaning
Spray carburetor cleaner through every passage — the main jet orifice, the emulsion tube holes (the small lateral drillings in the carburetor bore), the idle circuit passages, the bowl vent, and the main fuel inlet. The goal is to see aerosol coming through the other side of every passage. If a passage remains blocked after several applications, allow the carburetor to soak in a dedicated carburetor dip solution for 20–30 minutes.
The wire-in-the-jet controversy: In small engine repair communities, there's a persistent debate about whether to use a fine wire to mechanically clear a blocked jet orifice. The pragmatic camp argues that a single guitar string (approximately 0.009–0.010 inches) passed gently through a 0.028-inch orifice doesn't risk enlarging it and is faster than waiting for chemical action alone. The purist camp — and the Honda service manual — recommends chemical cleaning only, citing the risk of enlarging the orifice even fractionally, which changes the fuel metering curve. Both positions have merit. If the jet is going to be replaced anyway, mechanical cleaning is acceptable. If you're reusing the jet, err toward chemical cleaning and patience.
Blow all passages clear with compressed air before reassembly.
Reassembly and Installation
Reassemble in reverse order. The inlet needle valve goes in gently — do not force the needle tip against the seat. The float should pivot freely on its pin with no resistance. The main jet threads in finger-tight plus a small snug turn; do not overtighten into aluminum. New bowl gasket rather than reusing the old one — the old gasket will weep fuel if it's been compressed for multiple seasons.
Reinstall the carburetor, reconnect linkages (verify the throttle plate returns to fully closed at idle and fully open at wide-open-throttle), reconnect the fuel line and clamp, reinstall the air filter housing.
Fuel Line Replacement: When and How
If the fuel line showed any cracking, brittleness, or was difficult to remove from the barbed fittings (stuck due to heat-set deterioration), replace it. HRX fuel lines use standard 3/16-inch (4.76mm) inner diameter fuel line — the type available at any hardware store. Cut a replacement to the same length as the original. The runs are short enough that routing is not complicated.
If you're replacing the fuel line, replace the inline fuel filter at the same time. The filters are inexpensive (under $5 in most cases) and their condition inside the opaque housing is impossible to assess visually.
Fuel Stabilizer: The Real-World Debate
Honda's official guidance recommends either running the engine completely dry of fuel before storage or using a fuel stabilizer. In practice, running completely dry has its own risks: it leaves the carburetor without any protective film and can cause rubber seals to dry and crack. Stabilizer use — STA-BIL 360 Protection or similar — is the more pragmatic choice for most users, though it's worth noting that no stabilizer prevents ethanol-related degradation indefinitely. The common recommendation of "stabilizer good for up to 24 months" is a marketing upper bound, not a practical operational guarantee.
The shift toward ethanol-free premium fuel at storage is increasingly the recommendation you'll see from Honda dealers and experienced technicians. It costs more at the pump but eliminates the primary chemical failure mechanism entirely.
Real Field Reports: What's Actually Happening Out There
The r/lawnmowers subreddit processes dozens of "Honda won't start after winter" posts every March and April. The pattern is consistent enough to constitute informal field data. The most common confirmed diagnoses, based on follow-up posts where users resolved their problem:
- Clogged main jet (most frequently reported cause, by a significant margin)
- Bad fuel cap vent (second most common, and the one users most frequently describe as surprising: "I felt like an idiot but the cap was $12 and it fixed it immediately")
- Cracked or permeated fuel line
- Failed inlet needle valve (rubber tip swollen from ethanol exposure)
- Completely blocked inline fuel filter (particularly on older machines where the filter hadn't been serviced in years)
A GitHub-adjacent discussion — this one in a DIY repair forum thread titled "HRX217 cranks but won't start — exhausted options" — documents a more obscure failure: a user who had cleaned the carburetor twice and replaced the fuel line, still couldn't get the engine running. The eventual diagnosis was a cracked fuel tank itself — a hairline fracture near the bottom outlet that allowed air ingestion under operating conditions but showed no visible drip when the mower was stationary. This is the kind of edge-case failure that doesn't appear in any official service documentation but circulates through community knowledge.
Counter-Criticism and the "Just Replace the Carburetor" School of Thought
There's a legitimate debate in small engine repair communities between the comprehensive cleaning approach and the replacement-first approach. A replacement carburetor for the HRX GCV160 series is available from aftermarket suppliers (not OEM Honda) for roughly $12–$20. Cleaning a carburetor thoroughly takes 45–90 minutes the first time you do it and requires some mechanical comfort.
The argument for replacement: time is money, the aftermarket carburetors are functional for most residential applications, and if the original carburetor has been repeatedly varnished and chemically degraded over years, cleaning returns it to marginal function rather than restored function.
The counter-argument: aftermarket carburetors for small engines are notorious for inconsistent quality control. Community reports — there are multiple threads on Arboristsite.com and the SmallEngineSuppliers forum — document issues with aftermarket HRX carburetors that arrive with incorrect jet sizing, loose bowl bolts, or gaskets that don't seal correctly. A properly cleaned OEM carburetor will outperform a cheap replacement carburetor. The replacement option makes sense for machines where the carburetor bore is visibly damaged or where cleaning has been attempted multiple times without success.
The honest answer is that both approaches are valid depending