Quick Answer: A leaking kitchen P-trap is almost always caused by a failed compression washer, a cracked plastic fitting, or an overtightened slip-joint nut that's split the sleeve. In most cases, you can fix it in under 30 minutes with no special tools — just slip-joint pliers, a bucket, and replacement washers or a new P-trap kit from any hardware store.
There's a particular kind of dread that comes with opening the cabinet under your kitchen sink and finding the bottom soaked, a slow drip ticking against a bottle of dish soap. It's not dramatic — no burst pipe, no flood — just that quiet, consistent betrayal of a joint that stopped doing its job. The P-trap is one of the most frequently replaced plumbing components in a residential kitchen, and yet it remains one of the most misunderstood. People either ignore it until the cabinet floor rots out, or they panic and call a professional, much like someone might panic when their Google Home Mini won't turn on.
This guide is neither a panic manual nor a dismissal, serving as a practical resource much like our breakdown of Direct Indexing vs. ETFs for those navigating complex financial choices. It's an honest, operationally grounded walkthrough of what's actually happening inside that curve of white PVC, why it fails when it does, what the real variables are, and how to fix it correctly — including the parts that the YouTube tutorials skip because they're boring or awkward to film.
Understanding the P-Trap: What It Actually Does and Why It Fails
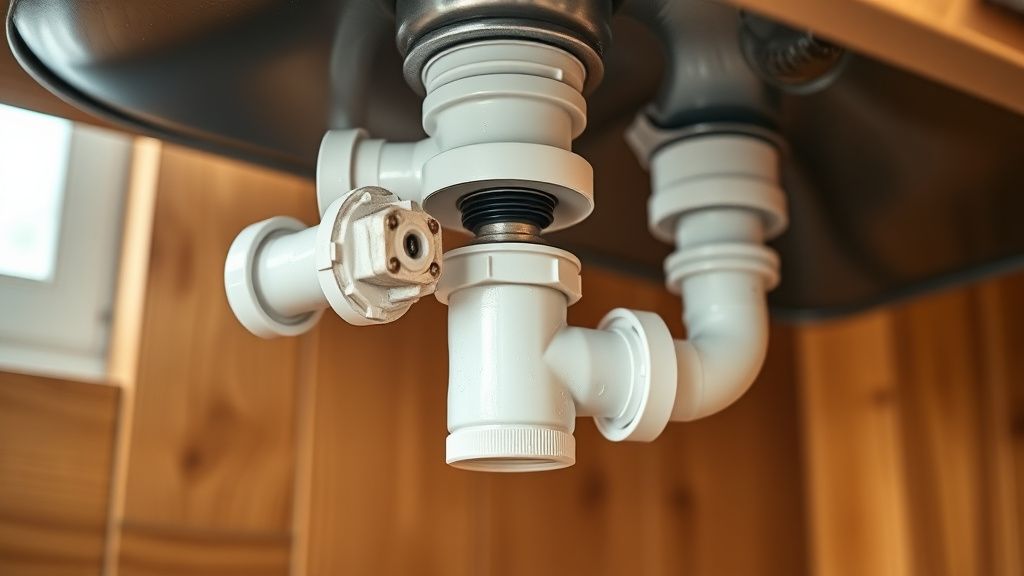
The P-trap, named for its shape, exists to hold water as a safety seal, though unlike the complex hardware issues behind PS5 Error CE-108255-1, this component is relatively simple to maintain. That standing pool of water in the curved section is a seal against sewer gas, which is a real and genuinely hazardous cocktail of hydrogen sulfide, methane, and ammonia that would otherwise travel freely from the municipal sewer line or your home's drain stack directly into your kitchen. Building codes in the United States (specifically the International Plumbing Code and most state-level adoptions) mandate P-traps on every fixture drain for this reason.
The secondary function — actually moving water — is almost incidental, but it's where failure originates. Every time you run the sink, water passes through the trap at varying pressures and temperatures, similar to the operational stress that might cause a Ninja Foodi to fail its preheat cycle. Over time, the compression washers (sometimes called slip-joint washers) at each connection point compress unevenly, the plastic becomes brittle from chemical exposure, and the slip-joint nuts either loosen from vibration or crack from being overtightened.
The Three Failure Modes Nobody Explains Clearly
1. Washer compression failure. This is by far the most common cause. The rubber or plastic washer inside the slip-joint nut flattens, hardens, or takes a set (meaning it permanently deforms to one shape and can no longer seal against movement). You'll notice this as a slow drip that only happens when the sink is running, typically right at the nut connection. Temperature cycling accelerates wear on washers faster than most realize, causing issues just as persistent as a Roborock S7 MaxV Error 10 that disrupts your cleaning schedule.
2. Physical cracking of the fitting. Cheap PVC P-traps sold at big-box retailers are thin. Not dangerously thin, but thin enough that overtightening a slip-joint nut — which happens constantly, because the instinct when something leaks is to tighten harder — can split the fitting at the collar. This creates a leak that gets worse the more you tighten, which is deeply counterintuitive and the source of a lot of confused Reddit threads in r/Plumbing and r/HomeImprovement. The fix here is replacement, not tightening; failing to recognize this is a common mistake, similar to how users often struggle to address a Cosori 5.8qt Air Fryer E1 Error with improper reset attempts.
3. Joint displacement. If the drain pipes on either side of the P-trap aren't perfectly aligned — which is common in older homes where the wall stub-out is at an unusual height, or after cabinet work, or when someone has bumped the drain assembly under the sink — the trap assembly gets racked slightly out of alignment. This puts constant side-load on the slip-joint connections, which they were not designed to handle. The joint appears tight but weeps constantly because the washer is being compressed at an angle.
Tools and Materials: What You Actually Need
This is where a lot of how-to content oversimplifies. "You just need pliers" is technically true but operationally incomplete.
What you need:
- Slip-joint pliers (channel-lock pliers) — 10-inch is the most useful size under a sink. The narrow cabinet space makes a larger pair genuinely awkward.
- A bucket — 2-gallon minimum. The water that comes out when you remove the trap is always more than you expect, especially if the sink drain has been slow recently.
- Old towels or rags — Because the bucket tip will happen.
- Replacement P-trap kit — If you're not sure what you have, buy a full kit. At most hardware stores, a complete 1-1/2 inch PVC P-trap assembly (the standard size for kitchen sinks) costs between $5 and $12. Get the kit that includes washers, nuts, and the trap arm extension, because inevitably one of those components is also degraded.
- Teflon tape (PTFE tape) — Not always necessary for slip-joint connections (which use compression, not thread sealing), but useful if you encounter any threaded connections at the strainer or tailpiece.
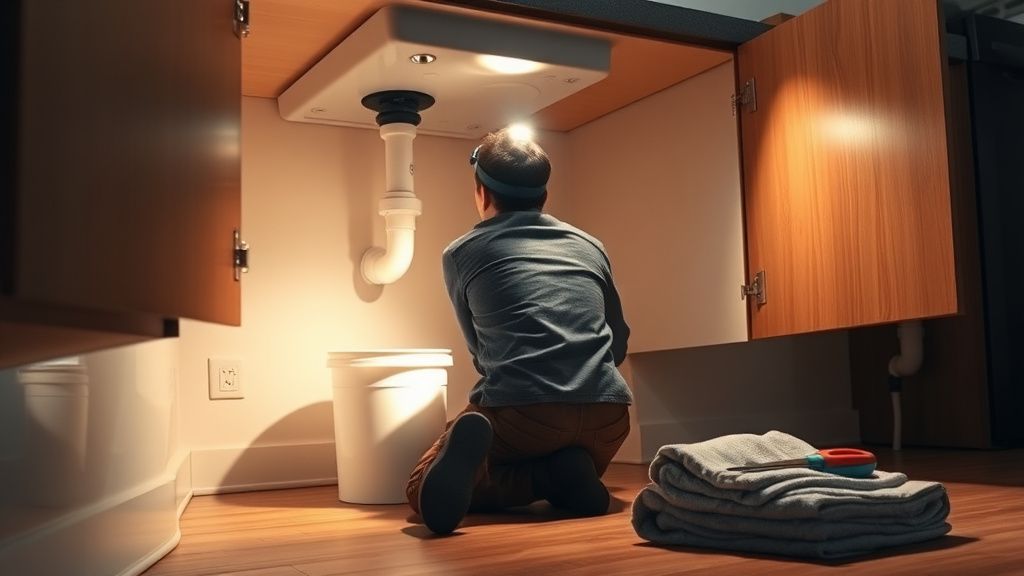
- Flashlight or headlamp — Cabinet lighting is terrible. A clip-on headlamp is genuinely transformative for under-sink work.
What you don't need:
Pipe dope, plumber's putty, or thread sealant on PVC slip-joint connections. This is a surprisingly common mistake — people apply pipe dope to slip-joint threads and wonder why the joint is impossible to disassemble six months later. Slip-joint nuts use compression; the seal comes from the washer, not thread engagement.
Pre-Repair Diagnosis: Don't Skip This
Before you touch a wrench, spend two minutes actually watching where the water is coming from. This sounds obvious. Almost nobody does it.
Run the sink. Watch the trap assembly from below. Use your flashlight. The drip's origin point matters:
- Drip at the slip-joint nut where the tailpiece meets the trap inlet → washer or nut issue at the top connection
- Drip at the slip-joint nut where the trap arm meets the wall stub-out → washer or nut issue at the horizontal connection
- Drip from the bottom of the curved trap section itself → the trap body is cracked; full replacement required
- Drip from above the trap, at the sink drain body or tailpiece → this isn't a P-trap problem at all; the issue is at the basket strainer or the tailpiece connection (a different repair)
- Drip that appears only when the dishwasher drains → the dishwasher drain line connects to the drain assembly at the tailpiece or air gap, not the trap — again, different problem
Misidentifying the source is the most common reason a DIY repair "doesn't fix it." The trap gets replaced, the actual leak point (three inches above) is untouched, and the cabinet stays wet.
Step-by-Step Repair: The Full Walkthrough
Step 1 — Clear the Cabinet and Position Your Bucket
Remove everything under the sink. Cleaning products, the garbage bag roll, the spare sponges. All of it. You need room to move and you need to see what you're doing. Position the bucket directly under the trap curve. If the bucket doesn't fit cleanly (common in tight cabinet configurations), use a shallow baking pan or a folded towel layered in a plastic bag.
Step 2 — Loosen the Slip-Joint Nuts
There are two slip-joint nuts on a standard P-trap:
- The upper nut at the vertical tailpiece (coming down from the sink drain)
- The lower/horizontal nut where the trap arm enters the wall
Turn both counterclockwise. In most cases, finger tight is achievable after an initial break with the pliers. Do not use excessive force. If a nut won't budge, try penetrating oil (PB Blaster or similar), wait ten minutes, and try again. Forcing a corroded plastic nut with a metal jaw will shatter it — which actually solves the problem (you're replacing it anyway) but sends shards of plastic into the drain line, which creates a different problem.
Step 3 — Remove the Trap
Once both nuts are loose, slide them along the pipe away from the connections. The trap will come free. Pour the contents into the bucket. This water will smell. This is normal. The trap is also where accumulated debris lives — grease, hair, soap buildup — so have the rags ready.
Step 4 — Inspect Every Component
Lay out the disassembled trap. Look at:
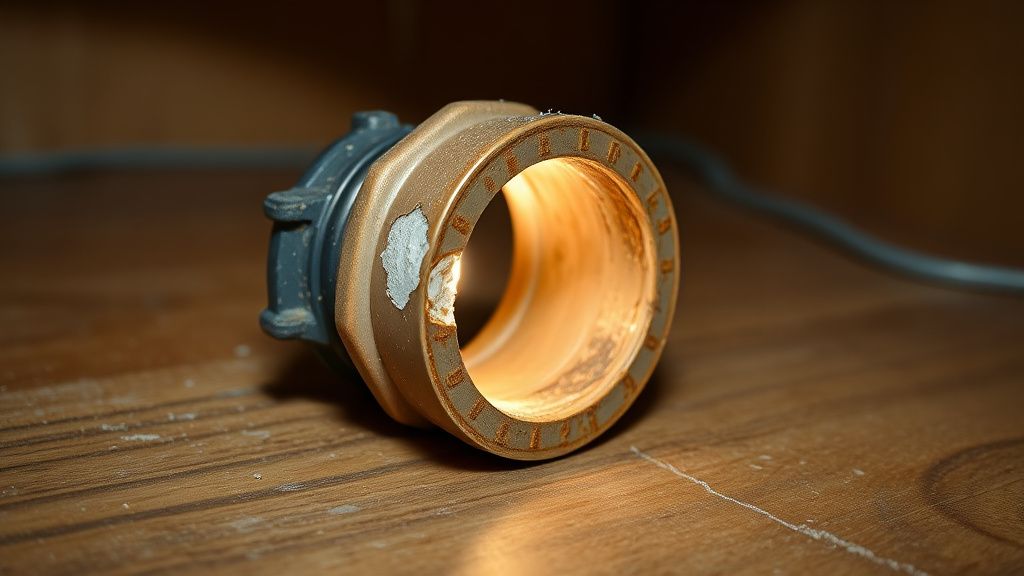
- The washers: Are they flat, hard, cracked, or obviously deformed? If yes, replace them.
- The nuts: Are any cracked along the threads or collar? Replace if so.
- The trap arm (the horizontal section going into the wall): Is it cracked or is the end that fits into the wall stub-out damaged?
- The wall stub-out itself: If the fitting coming out of the wall is cracked or the rubber gasket inside it is damaged, that's a more involved repair. But it's worth checking now while everything is apart.
- The tailpiece: Look up at the vertical pipe coming from the sink drain. Any cracking, any buildup at the connection collar?
If you're replacing washers only, the standard size for a 1-1/2 inch slip-joint is a beveled rubber washer — beveled meaning it has one flat face and one angled face. The angled (beveled) face goes toward the fitting, not toward the nut. Getting this backward is extremely common and causes the repair to leak immediately.
Step 5 — Install the New Components
Whether you're installing new washers in the existing trap or installing an entirely new P-trap kit:
Assembly order matters. Slide the slip-joint nut onto the pipe first, threads facing outward (toward where the fitting will be). Then slide on the washer, beveled face toward the fitting. Then push the pipe into or onto the fitting, and hand-tighten the nut.
For the wall stub-out connection, the trap arm typically just pushes into the stub-out and is held by friction and a rubber gasket inside the fitting. It should go in at a very slight downward angle — never perfectly horizontal or angled upward, as this can impede flow and cause the trap to lose its water seal faster.
Step 6 — Alignment Before Tightening
This is the step most DIY guides either skip or mention as an afterthought. Before you fully tighten anything, check the alignment of the entire assembly. The trap should be under no visible stress. The tailpiece should descend naturally into the trap inlet. The trap arm should go straight to the wall without bending or twisting the trap body.
If anything looks forced, it is forced, and tightening will create a stressed joint that leaks under load.
Step 7 — Tighten to Hand-Tight Plus One Quarter Turn
This is the most contested instruction in all of residential plumbing DIY, and it's contested because it's deeply contextual. The general rule for PVC slip-joint connections: hand-tight, then an additional quarter to half turn with pliers. No more.
The reason this rule is violated constantly: the joint leaks during the test, the instinct is to tighten more, and the cycle continues until the nut or fitting cracks. If tightening beyond one full turn with pliers doesn't stop the leak, tightening is not the solution. The washer is wrong, the washer is backward, or the fitting is cracked.
Step 8 — Test Under Running Water
Run the sink. Let it run for 30 seconds. Watch every joint. Look specifically at the moment you plug the drain and let a full sink of water drain rapidly — this higher flow rate can reveal leaks that a trickle test misses. Check again after 60 seconds of drainage.
If everything is dry, you're done. If there's a drip, dry everything off completely, run again, and watch for the precise origin point before making any adjustments.
Real Field Reports: Where This Goes Wrong
The gap between a textbook repair and an actual under-sink repair is wider than most guides acknowledge.
The 40-year-old metal trap. In homes built before the widespread adoption of PVC in residential plumbing (roughly pre-1980 in much of the US), you may encounter a chrome brass or galvanized metal P-trap. These corrode from the outside and scale from the inside. Slip-joint nuts on old metal traps can be seized beyond the ability of standard slip-joint pliers to break free — you're into pipe wrenches, heat (carefully, not near anything flammable), and the real possibility that the wall stub-out fitting also needs replacement. This is no longer a 30-minute job.
The non-standard connection. Kitchen sinks occasionally have 1-1/4 inch drain assemblies rather than the standard 1-1/2 inch, particularly some European-imported sinks. The wrong size trap kit will not seal, period. Measure before buying.
The double-sink configuration. If you have two basins sharing a single drain, the trap assembly is more complex — typically a center tee fitting and two tailpieces running into a shared trap. Leaks in this configuration can be deceptive because water can travel along a pipe before dropping, making the apparent drip location different from the actual leak origin.
The garbage disposal complication. A garbage disposal unit changes the drain configuration. The disposal has its own outlet that connects to the trap assembly via a discharge tube, and the drain hose from the dishwasher typically attaches to a knock-out plug on the disposal body. If the disposal discharge tube connection is leaking, it looks exactly like a trap leak but requires a different repair (usually a new discharge tube gasket or elbow).
One recurring thread on the r/Plumbing subreddit — user reports this with notable frequency — involves people replacing the P-trap twice, then the tailpiece, before eventually tracing the leak to a cracked disposal discharge tube elbow that drips slowly enough to look like it's coming from below. The advice that comes back reliably: "dry everything completely, run a paper towel along each connection one at a time, don't trust what you think you're seeing from below."
Counter-Criticism and the DIY vs. Professional Repair Debate
There's a legitimate argument — made by plumbing professionals and not entirely without merit — that a homeowner should not be under their own sink with slip-joint pliers. The argument runs roughly like this: a DIY P-trap repair done incorrectly (wrong washer orientation, misalignment, overtightening) creates a slow leak that may not be noticed immediately, and by the time it's detected, the cabinet floor, the subfloor, and potentially the ceiling of the room below are damaged. Water damage remediation can run into thousands of dollars for what started as a $10 part.
This is a real risk. It is also routinely overstated by people who charge $150-$200 for a plumber's service call to do exactly what this guide describes.
The honest answer: a P-trap repair is one of the most genuinely accessible plumbing jobs in a home. The water supply is not involved — you're not cutting into pressurized lines. The worst outcome of an incorrectly reassembled slip-joint trap is a drip you'll see the next time you open the cabinet, not a flood. The mitigation is simple: after any repair, check the cabinet 24 hours later, check it again at 48 hours, and keep a dry towel folded in there as a passive indicator.
Where DIY genuinely stops making sense: when the wall stub-out is damaged, when there's evidence of water damage behind the cabinet wall, when the drain line inside the wall is involved, or when the leak is clearly originating at the basket strainer threads (which requires removing the sink drain body — possible DIY, but involves putty, a basket wrench, and patience with an often-seized locknut).
When to Replace vs. Repair: The Honest Assessment
A $5 washer kit will fix the majority of P-trap leaks. A $10-12 complete P-trap replacement kit will fix almost all of them. The question of whether to repair or replace